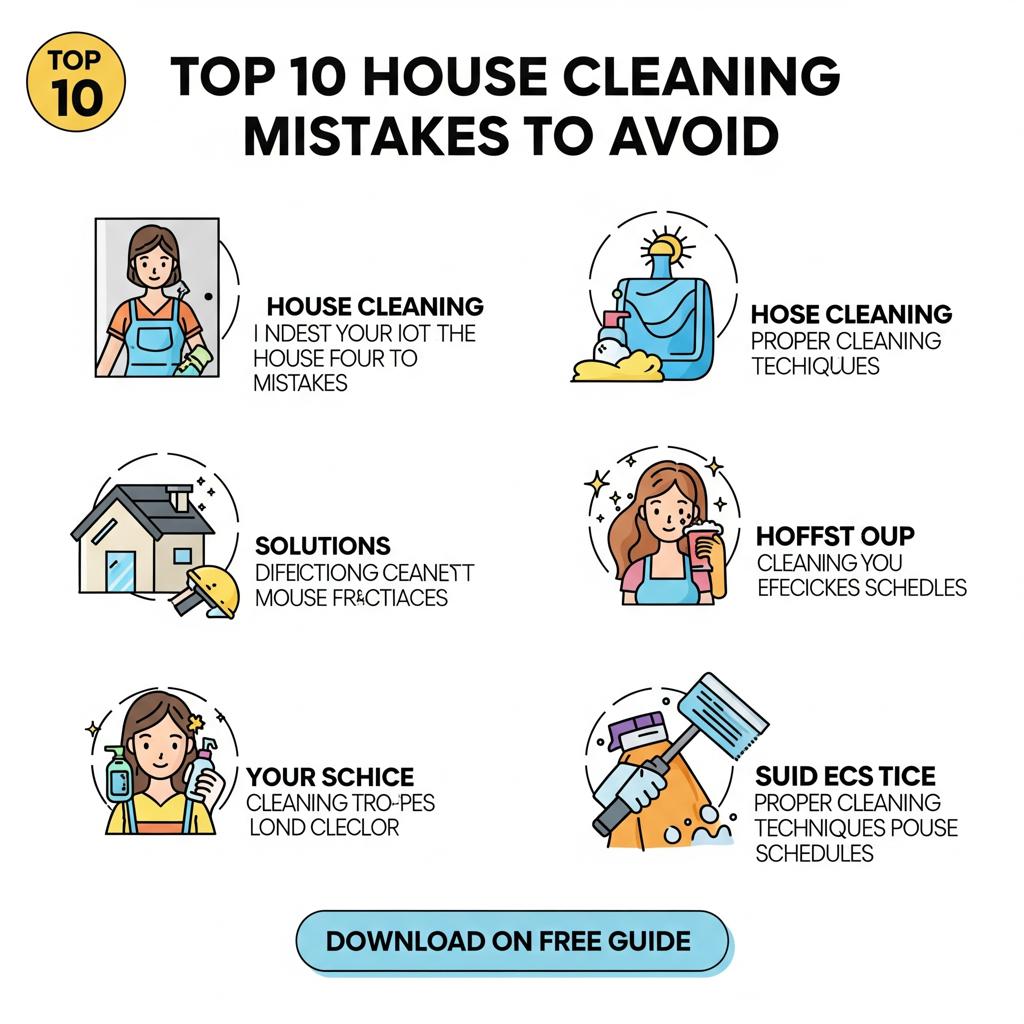
Top 10 Cleaning Mistakes You Might Be Making

Cleaning the house can appear to be straightforward, yet the residents make unknown errors that will stain surfaces, lead to wastage of time, or leave cleaner homes than you would want. It does not matter if you are a novice cleaner or an old homeowner who has been cleaning their home for years; awareness of such simple-to-make errors will render cleaning a snap.
Pros spend years honing their craft, and what this skill set is saying to you is that good cleaning isn't a matter of elbow grease—good cleaning is a matter of using the correct techniques, equipment, and chemicals in the correct sequence. Steer clear of these top ten most frequent cleaning mistakes, and not only will you have more effective cleaning but you will also be protecting your home surfaces and even saving time.
1. Too Much Cleaning Product
The Mistake: Some people feel that there is no such thing as too much cleaning product. This results in over-spraying surfaces, over-sudzing dishes and washing machines, or applying too many applications of cleaning products.
Why It's Wrong: Excessive cleaning product residue occurs on surfaces, attracts dust, leaves streaks on glass and mirrors, and is wasteful. Mechanical issues with washers and dishwashers and cleaning performance are caused by over-soaping dishwashers and washers.
The Expert's Answer
- Read product labels carefully and dilute as directed
- Use less product than you think you'll need to begin with—add more if necessary
- For spray cleaners, 2-3 light sprays are preferable to soaking the surface
- Use product level indicated for washer load size and soil level
- Washing glass, use the minimum product to avoid streaking
Pro Tip: Always test cleaning products on a small, inconspicuous area first to see how much to use for your particular surfaces.
2. Washing Windows and Mirrors on Sun Days
The Mistake: Cleaning windows on a sunny day makes sense, but it is precisely opposite to achieving streak-free outcomes.
Why It's a Problem: Sunlight evaporates cleaning fluids too quickly and leads to streaks and residue that you can't wipe away fully before they dry out. Evaporation does not allow the cleaning product sufficient time to act on dirt and grime efficiently.
The Professional Solution:
- Clean windows and mirrors on overcast days or when the surfaces are in the shade
- Clean early morning or late afternoon when temperature is cooler
- Dry in sections to prevent pre-drying
- Use squeegee method: start at top and work down in a straight, overlapping pattern
- Dry edges immediately with lint-free material
Tip: Professional window cleaners like to work early morning for just that reason to keep out sunlight and achieve optimum results.
3. Ignorance of Constant Cleaning of Cleaning Equipment
The Blunder: Filthy mops, sponges, vacuum cleaners, and cleaning rags are used day in and day out with no replacement or maintenance.
Why It's a Problem: Filthy and germ-y cleaning tools redistributes dirt and germs rather than removing them. Vacuum filters that are clogged reduce suction power, dirty mop heads leave behind residue and stains, and dirty sponges spread quicker-replicating bacteria.
The Professional Solution:
- Soak mops after use and allow to dry to finish
- Replace sponges every week or when odoriferous
- Wash microfiber cloths after each cleaning use
- Vacuum filters every month and bag replacement when half full
- Disinfect tool storage occasionally
- Use separate cleaning tools for separate rooms (bathroom and kitchen)
Pro Tip: Use more than one set of cleaning cloths so you have clean ones to use and the others are in the wash cycle.
4. Bottom to Top Cleaning
The Gaffe: Starting cleaning activities from floor level and then going higher, or dirty floors first and then the top surfaces.
Why It's A Gaffe: Dirt, grime, and cleaning products go the other way, i.e., downwards. Cleaning bottom-to-top, you're getting the clean surfaces dirty again and cleaning the same surfaces over and over.
The Expert Solution:
- Begin with cleaning the ceiling fans, light fixtures, and top shelves first
- Work from top to bottom in a system: walls, furniture surfaces, then floors
- Dust the higher areas first and vacuum or sweep up spilled material last
- Clean bathroom fixtures and mirrors first and then the counter and sink
- Save cleaning the floor until after each room
Pro Tip: Pros have an ironclad top-to-bottom system in each room to get the most efficiency and least chance of having to clean a surface twice.
5. Applying the Wrong Cleaning Chemicals to a Particular Surface
The Mistake: General-purpose cleaning chemicals on any surface or heavy-duty chemicals on delicate materials without preliminary compatibility tests.
Why It Costs More: Different surfaces require different cleaning techniques. Natural stone, for example, isn't cleaned using acid cleaners, abrasive cleaners ruin soft finishes, and the wrong pH levels stain or ruin over time.
The Professional's Solution
- Use pH-neutral cleaners on natural stone surfaces like marble and granite
- Use furniture and hardwood floor cleaners on furniture and hardwood floors
- Use ammonia-free glass cleaners to prevent streaking
- Use enzyme cleaners for organic stains and odors
- Use manufacturer's instructions for appliances and fixtures
Surface-Specific Tips:
- Stainless Steel: Clean in the direction of the grain using professional stainless steel cleaners
- Leather: Condition using leather-specific conditioners, never chemicals
- Electronics: Clean using anti-static cloths and electronic cleaners specifically
- Painted Walls: Clean with mild, non-abrasive cleaners to prevent paint stripping
6. Not Allowing Cleaning Chemicals to Dwell
The Mistake: Spraying cleaning chemicals and wiping them off immediately without giving them time to actually do the work.
Why It's a Mistake: Most cleaning chemicals do require time to penetrate dirt, grease, and grime. Quick wipe-offs deprive chemical reactions of room, resulting in ineffective cleaning and increased elbow grease.
The Pro Solution:
- Check for recommended dwell times on product labels (typically 30 seconds to 5 minutes)
- Spray a surface, move to another, then return and clean the first surface
- On tough stains, allow 5-10 minutes of dwell time
- Go step-by-step: spray several surfaces then return and clean them in order
- Never let cleaning solutions dry completely on surfaces
Pro Tip: The majority of professional cleaners clean in a pattern, spraying product on several spots then returning to clean them in order to achieve maximum efficiency with dwell time.
7. Mixing Several Different Cleaning Chemicals
The Mistake: Mixing different cleaning products on the grounds that it will be effective in time or efficacy.
Why It's Wrong: Combining chemicals creates downright ugly chemical reactions, toxic fumes, destroys clean power, or creates chemical burns that are unforeseen. Some combinations of chemicals are lethal.
The Professional Solution:
- Never combine multiple cleaning products together
- Clean one product at a time and clean in between
- Let the surface dry completely before using a second product
- Clean cleaning equipment separately and in original containers
- Ventilate the room when disinfecting using any disinfecting cleaning products
Hazards to Avoid Mixing:
- Bleach + Ammonia = Toxic chloramine gas
- Bleach + Rubbing Alcohol = Toxic chloroform
- Bleach + Vinegar = Toxic chlorine gas
- Hydrogen Peroxide + Vinegar = Explosive peracetic acid
8. Not Dusting Before Vacuuming
The Mistake: Vacuuming the floor and carpets first, followed by dusting surfaces, furniture, and shelves in the room.
Why It's Problematic: Dusting inevitably has the side effect of releasing particles to the floor. So if you leave first, you will have to vacuum again when you dust, which is a matter of performing the same task twice and not saving any time in the process.
The Professional Solution:
- Dust all items first: furniture, electronics, decor, baseboards
- Utilize microfiber cloths for trapping dust rather than distributing it everywhere
- Clean top to bottom surfaces methodically
- Dust carpets and rugs only after dusting all other things
- Vacuum upholstered furniture floors prior to it
Pro Tip: Professional cleaners follow very strict regulations so that they do not need to repeat tasks. Pre-dusting is one simple regulation which saves enormous amounts of energy and time.
9. Forced and Instant Scrubbing of Stains
The Mistake: Scrubbing the stains with brute force when you discover them, typically exacerbating the problem.
Why It's Wrong: Scrubbing too hard pushes stains further into fibers, gets the stain on an even larger area, or destroys surface textures. It also sets certain stains permanently.
The Professional Solution:
- Blot liquid spills as soon as possible with clean absorbent material
- Blot from the edge of the stain inward to avoid spreading
- Use appropriate stain treatment and allow adequate dwell time
- Firm, gentle pressure rather than hard scrubbing
- Test stain removal methods on inconspicuous areas first
Stain-Specific Treatments:
- Blood: Hydrogen peroxide and cold water, not hot
- Grease: Cornstarch or baking soda to absorb, degreaser to set
- Wine: Blot as soon as possible, salt to sprinkle, then clean with suitable cleaner
- Ink: Rubbing alcohol on cotton swab, working from outside in
10. Disregarding Manufacturer Care Instructions
The Mistake: Cleaning fixtures, furniture, and appliances without looking for manufacturer instructions or care labels.
Why It's Problematic: Manufacturers give us precise care instructions by material, finish, and construction method. Failure to do so can void warranties, permanently damage, or create safety issues.
The Professional Fix:
- Keep all manufacturer directions and care instructions
- Research proper care procedures on products with no labels
- Adhere to the frequency and method of cleaning suggested
- Use only authorized cleaning agents and techniques
- Ask straight questions about proper care to manufacturers
Objects That Require Special Care
- Hardwood Floors: Employ manufacturer's guidance on frequency and manner of cleaning
- Appliances: Use suggested chemicals and never apply strong chemicals on finishes
- Upholstery: Apply care codes (W for water-based, S for solvent-based, WS for either, X for vacuum only)
- Electronics: Special screen cleaning and component care instructions are required
Creating a Steady Cleaning Routine
Proper common mistakes are only the beginning. Professional-quality cleaning is developing systematic routines with accurate technique day in and day out.
Weekly Cleaning Schedule Template:
- Monday: Bathrooms (top-to-bottom)
- Tuesday: Kitchen (appliances included)
- Wednesday: Bedrooms (dust, then vacuum)
- Thursday: Living rooms (furniture and electronics)
- Friday: Floors in whole house
- Saturday: Deep clean a section
- Sunday: Clean and maintain tools
Minimum Professional-Level Tools:
- Long-term microfiber cloths in a variety of colors for each section
- Squeegees for shower and glass surfaces
- HEPA-filter vacuum with accessories
- Washable, replaceable mop heads with washable system
- Surface-specific, pH-neutral cleaning chemicals
- Personal protective equipment (gloves, masks if needed)
The Science of Professional Cleaning
There are four basic principles of cleaning that are commonly accepted and used by professional cleaners:
Chemical Action: Appropriate usage of appropriate cleaning chemicals with appropriate pH on soils and surfaces to be cleaned.
Mechanical Action: Appropriate physical wipe pattern, brush type, and pressure.
Time: Allowing appropriate dwell time for chemicals to act without allowing water spots to evaporate products too rapidly.
Temperature: Recognizing the impact of water temperature on cleaning efficiency for different soils.
Long-Term Advantages of Proper Cleaning Techniques
Avoiding these bad habits has long-term advantages over temporary cleanliness:
Increased Surface Life: Proper cleaning techniques keep finishes intact, avoid premature wear, and uphold manufacturer warranties.
Better Indoor Air Quality: Proper dusting and allergen removal equates to improved indoor air quality.
Time and Money Savings: Proper techniques save time and prevent costly repairs or replacement.
Professional Results: Methodical process provides higher-quality results than unorganized cleaning techniques.
In short
It's not equipment-heavy or time-consuming—it's the science of cleaning and applying proven techniques on a daily basis. Avoid these pitfalls and your cleaning will be a high-performance system that maintains the value and beauty of your home.
Remember that technique is something that has to be practiced in order to build up to a level of professionalism. Correct one or two mistakes at a time rather than redoing your whole routine totally. Practice technique rather than speed, and you'll have efficient, effective cleaning second nature.
The time you spend learning to clean pays dividends manifold in the form of saved time, better results, and an indoor lifestyle that beneficially adds to your health and happiness. Whether you're hosting guests into your house, protecting your investment, or enjoying the comfort and coziness of your house, these pro tips will be the ticket for you to achieve that look with less time and better success.
Professional cleaning works because professionals realize that cleaning is a skill that can be learned, perfected, and mastered by anyone. Through practice, patience, and following these standards, professional cleanings can be done for anyone in the home.